Leak No More: The Ultimate Checklist for Successful DIY Plumbing Repairs
Dealing with plumbing problems is a common issue that most homeowners face. Whether it’s a dripping faucet, a slow flow drain, or a toilet that won’t stop running, these difficulties can often cause stress and financial strain. Fortunately, many of these common plumbing issues can be rectified with a bit of DIY knowledge and some elbow grease.
But where do you begin? What tools do you need? How do you know if the problem is minor or if it requires a professional plumber?
If you’re considering tackling some home plumbing repairs yourself, you’ve found yourself in the right place. We’re here to help with a comprehensive DIY Plumbing Repair Checklist that covers the essentials for dealing with common plumbing issues.
Identifying Common Plumbing Issues
Before you break out the toolbox, it’s important to identify what kind of plumbing problem you’re dealing with. Some of the most common plumbing issues include:
- Leaky Faucets: This can be a seemingly minor issue that can lead to significant water waste and higher utility bills over time.
- Slow Drains: A clogged or slow drain often leads to water backing up in your sink, shower, or bathtub.
- Running Toilet: If your toilet is continuously running, it may need some simple internal repairs.
- Low Water Pressure: If your water isn’t coming out of the faucet with the pressure it usually does, there could be a problem with your pipes.
DIY Plumbing Repair: The Essential Tools
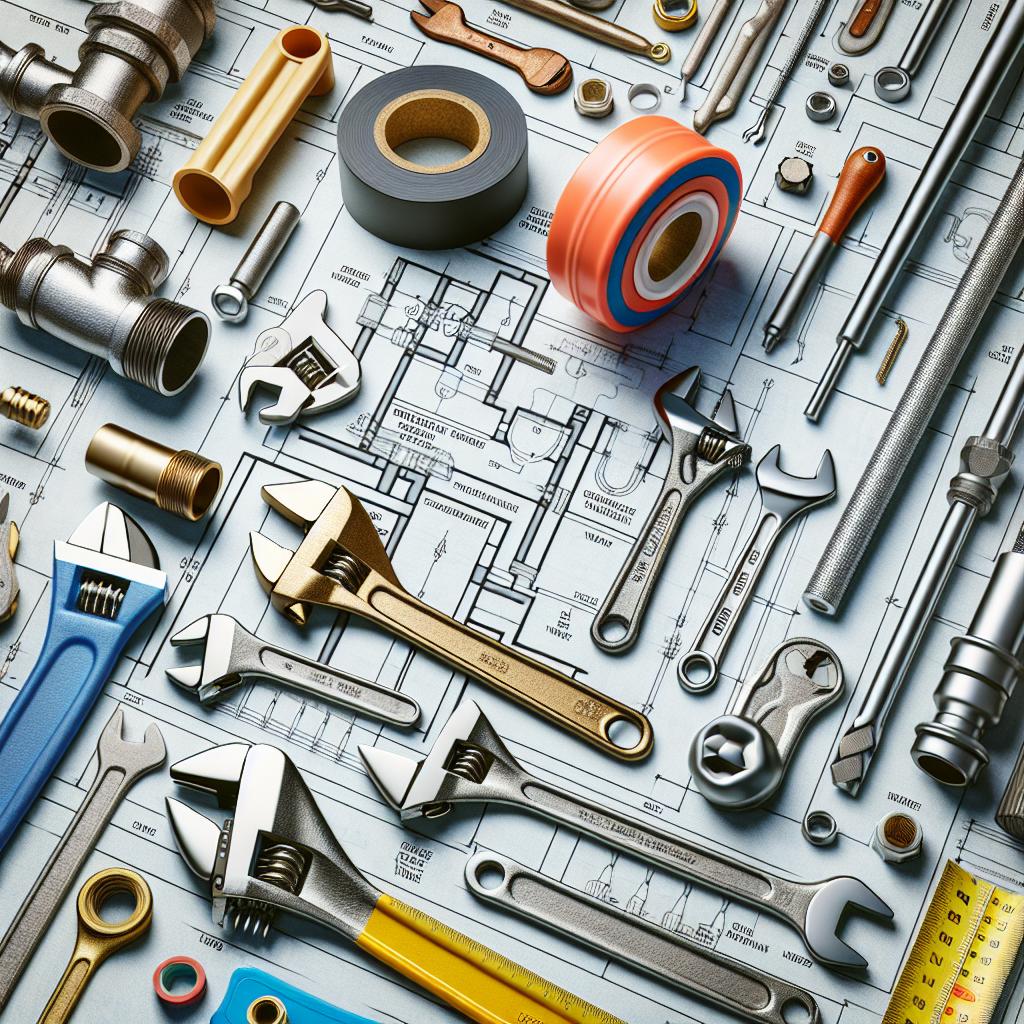
Having the right tools can make all the difference when it comes to DIY projects. So, what do you need for successful DIY plumbing? Here’s your basic checklist:
- Wrenches: Every homeowner should have a set of adjustable wrenches. They’re versatile and can handle most nuts and bolts that you’ll encounter.
- Plunger: This is your first line of defense for clogs in toilets, sinks, and tubs.
- Pipe Snake or Drain Auger: When a plunger isn’t enough, a pipe snake can break up more stubborn clogs.
- Plumbing Tape: Also known as Teflon tape, this material helps seal pipe threads and stop leaks.
- Pipe Cutter: For those tricky situations where a pipe section has to be removed or replaced.
The Ultimate DIY Plumbing Repair Checklist
1. Turn Off the Water
Before you tackle any DIY plumbing repair, always make sure you turn off the water. This will help prevent any potential flooding or water damage.
2. Examine the Issue
Whether it’s a leaky faucet, running toilet, or any other plumbing issue, it’s important to closely examine the problem. Knowing exactly what you’re dealing with will help you figure out the right approach to repair it and determine if it’s within your DIY capabilities.
3. Gather Your Tools
Once you’ve identified the issue, collect all the tools you’ll need to complete the repair process. This will save you time and prevent unnecessary frustration in the middle of your repair project.
4. Follow Instructions Carefully
There are numerous online guides and tutorials available that can provide step-by-step instructions for common DIY plumbing repairs. Remember, slow and steady wins the race. Rushing through a plumbing repair often results in incomplete fixes or, worse, further damage.
5. Test Your Repairs
Once you’ve completed your repair, make sure to test the issue to ensure it’s been resolved. For instance, if you were dealing with a leaky faucet, turn the water back on and see if the drip persists. If the problem remains, try re-evaluating your approach or consider seeking professional help.
6. When in Doubt, Call a Pro
Don’t let pride get in the way. If a plumbing issue seems too complex or if a basic repair isn’t fixing the problem, it’s best to call a professional plumber. Protecting your home should be the ultimate goal, and sometimes that means knowing when to call for expert help.
Conclusion
While DIY plumbing repairs can be a budget-friendly alternative to professional services, they’re not always the best solution. It’s important to know when a task is beyond your skills and requires a professional touch. However, with the right tools, a careful approach, and our ultimate checklist, you’ll be well prepared to tackle a range of basic home plumbing repairs. And when you’ve completed a successful DIY fix, you’ll have the satisfaction of knowing you did it yourself!


